Hand-colored & Matted Engraving
For this aspect of the image assignment, I decided to use an engraving from an 1874 illustrated book, Picturesque America of my hometown, Renovo, PA. I had found the image for sale on ebay and bought it to frame for my mother to display in her local history corner. The orignal print from the book is in relatively good condition for its age, but I scanned it just to have a digital copy of it, since I really liked the engraving.
First, I changed the background to plain white, by creating 2 new layers. I filled the background layer with white, then left the other layer empty, to act as a transparency layer. Then I selected the image layer and chose the "blending options" from the fx toolbar and moved the top slider bar to the left, until the brownish background color was gone.
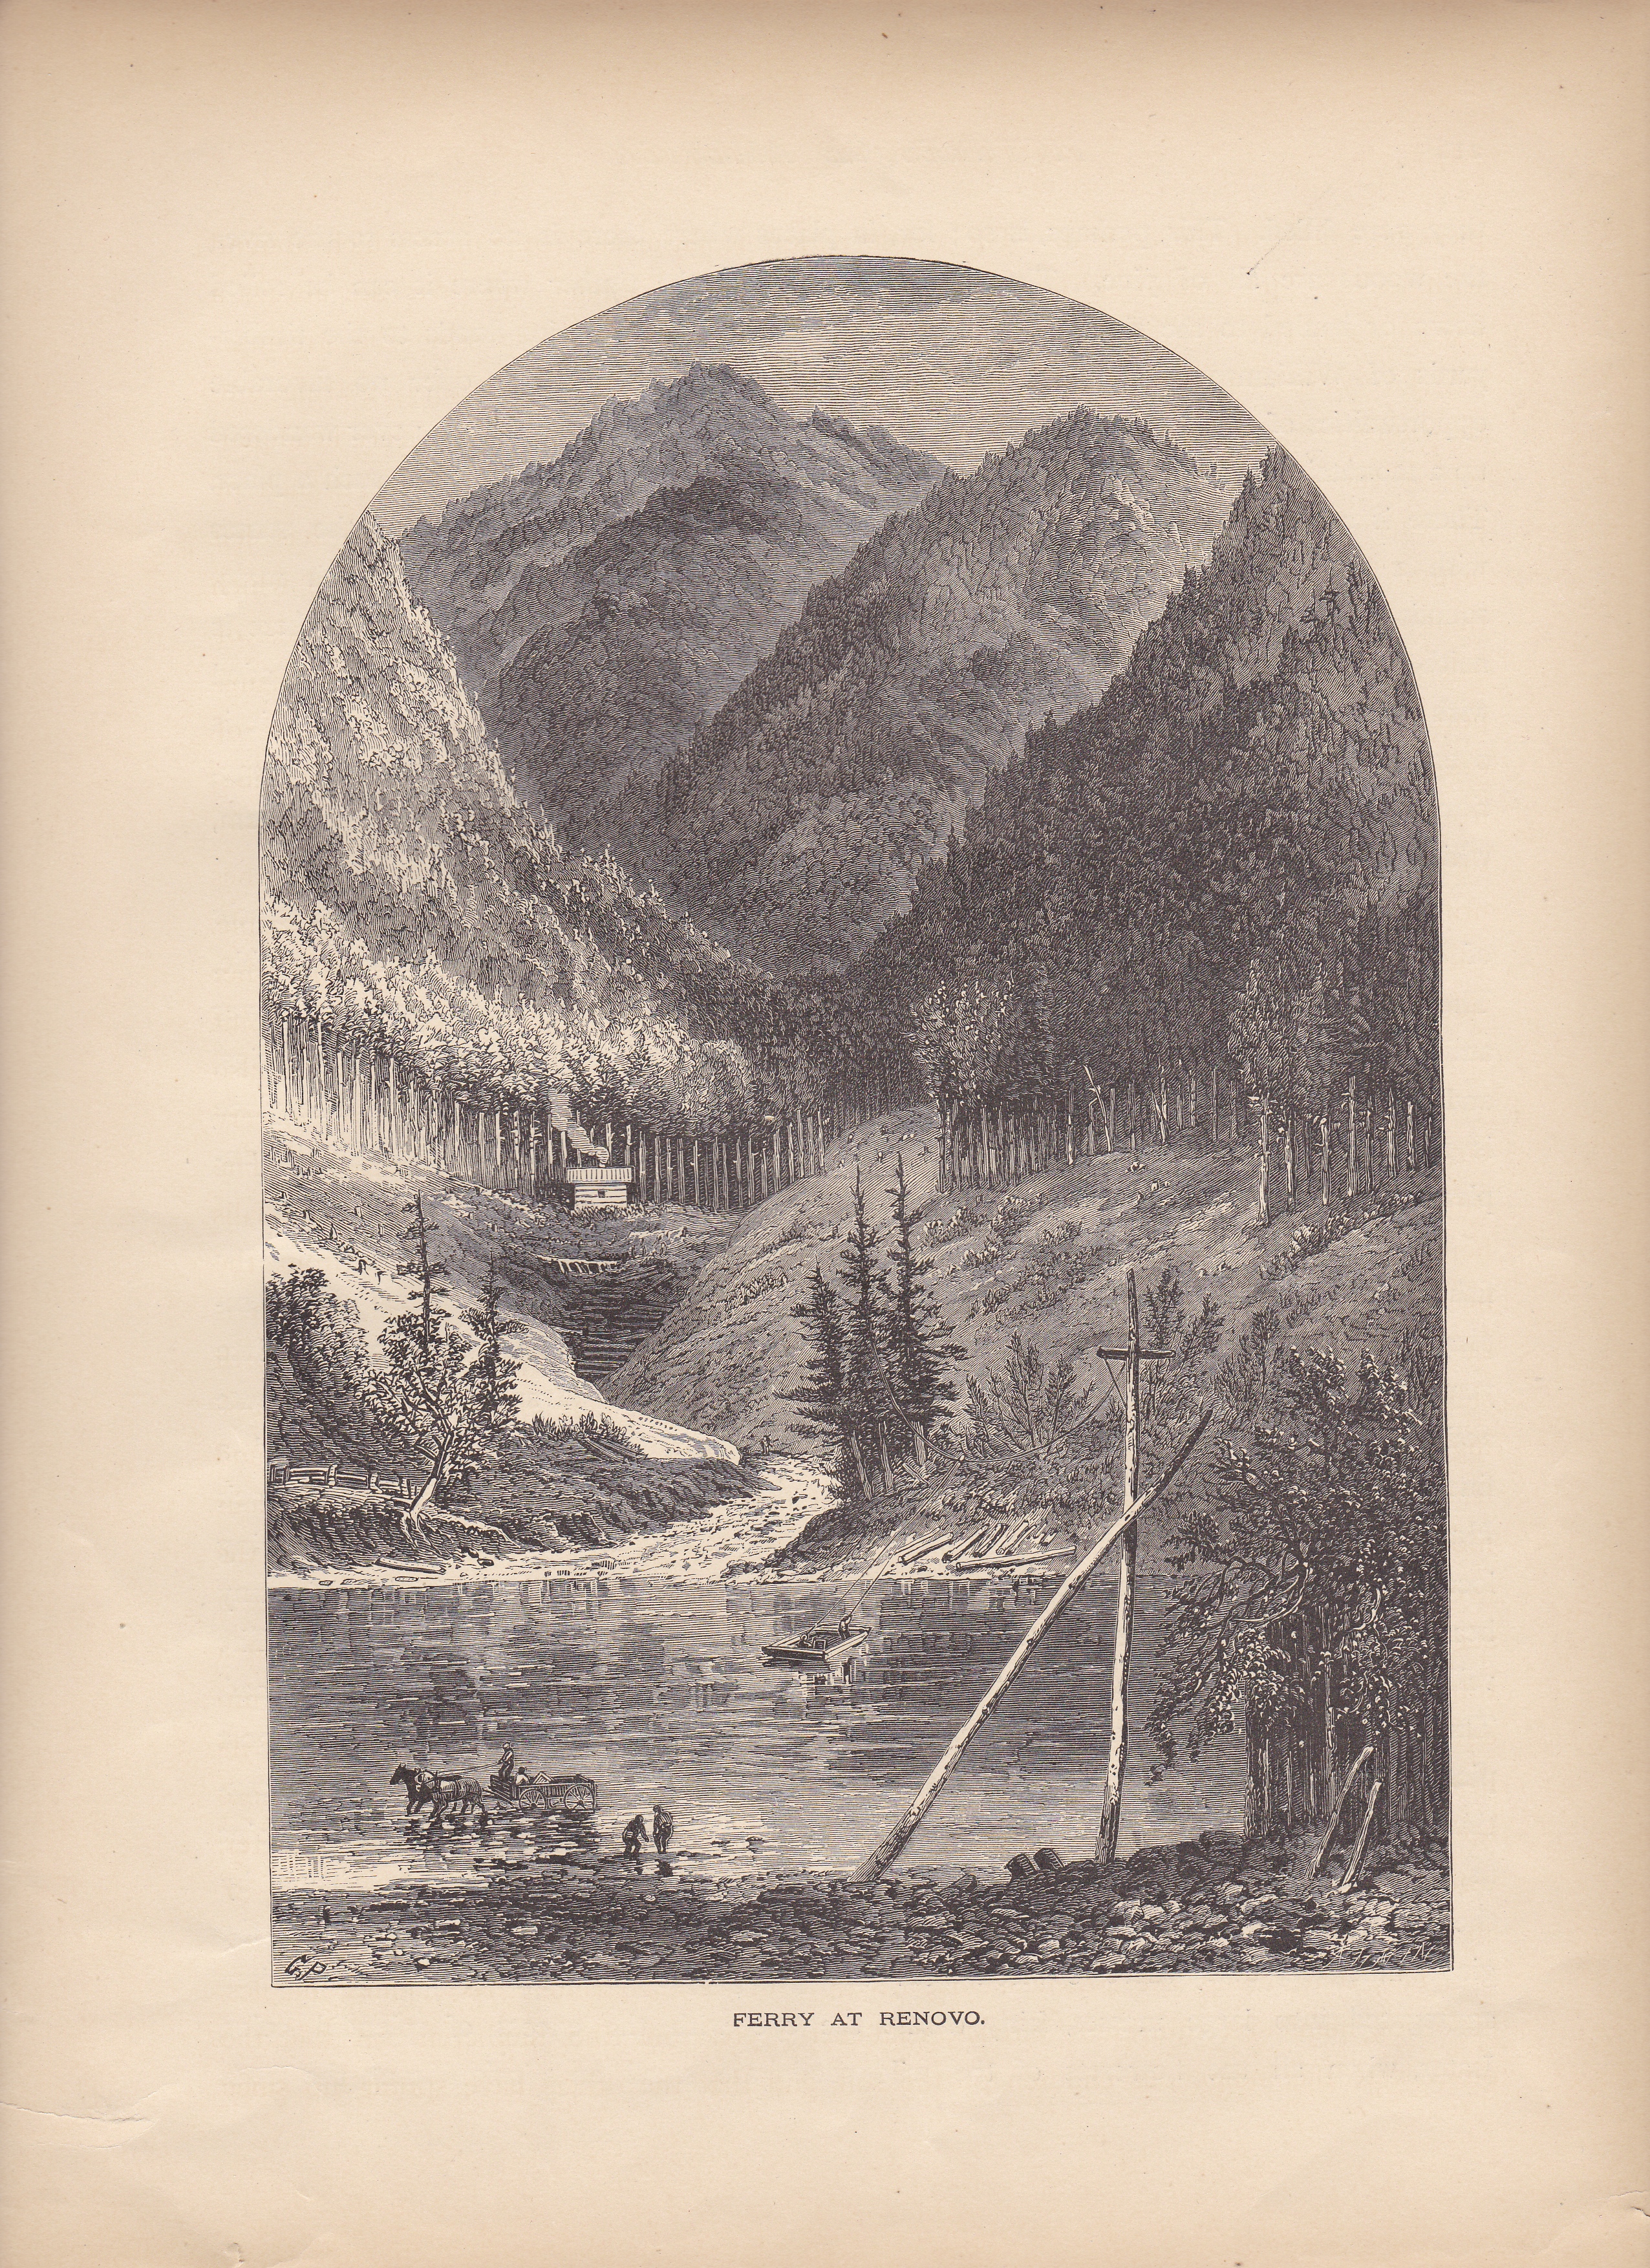
Ferry at Renovo, Before

Ferry at Renovo, After
For the coloring, I created new layers for each section I wanted to color, such as for the mountains, river, trees, etc. Using the magnetic selection tool, I traced the perimeter of the object I wanted to color, then cleaned up the selection with the regular lasso tool. This part requires a lot of patience and concentration! But once you get the selection just right, you can then save the selection so you don't have to monkey with it later on. Using the lasso tool to specify a selected area of the image to color really does make the coloring part much more easier.
I wanted to make the image look like a fall scene, as that is always such a pretty time back home. I played around with the brush types and sizes, as well as the opacity and flow to lessing the amount of color I applied. I don't think there is a specific formula for this process, as I finally settled on the colors below after trying various different settings. I mostly used the "multiply" and "overlay" brush options, however, and set my opacity in the 13% - 30% range, depending on the effect I wanted. I wanted the original engraving to show through, and I tried very hard not to be too heavy-handed. However, I also wanted to bring the scene to life with just the right amount of color. When I colored too much, I used the eraser with a lowered opacity setting, to lighten the color. I had a lot of fun playing with colors, and even used the eye-dropper tool on a photo of a mountain stream brook in Pennsylvania for the color of the water.
After I flattened my layers in Photoshop, I realized that I didn't like the stark whiteness of the background. I applied the same transparency technique as before and chose a less white color, trying to match the color of old, but not degraded, paper. I ran into some issues with the "After" image loading properly, so I went back to Photoshop and "saved for web..." and shrunk the image 50% as a gif, which made it load a somewhat faster. The work on this image took the longest of all, but I think that might be due to all the fun I had coloring.
Resized, Restored & Vignetted Image
For this example, I used an image from the NYPL photo archives, of a farmer with a horse-pulled tractor. I couldn't find the date for it, so it might all outside of my time frame above, but I've been reading and transcribing a diary of a Pennsylvania farmer and college student from 1869, which references using horses to help pull tractors while working the field. I've changed the focus of my final project from Carnegie Libraries, to the life of Henry W. Schweigert, whose diary I just mentioned. I hope to tell the story of a young farmer from southeastern Pennsylvania, who later became a school teacher. His diaries reflect the earnest efforts of the Pennsylvania Germans to pursue an education that included learning English. My final project will reveal more about Schweigert's life, as well as the influence of literacy societies in American colleges in the latter half of the 19th century.
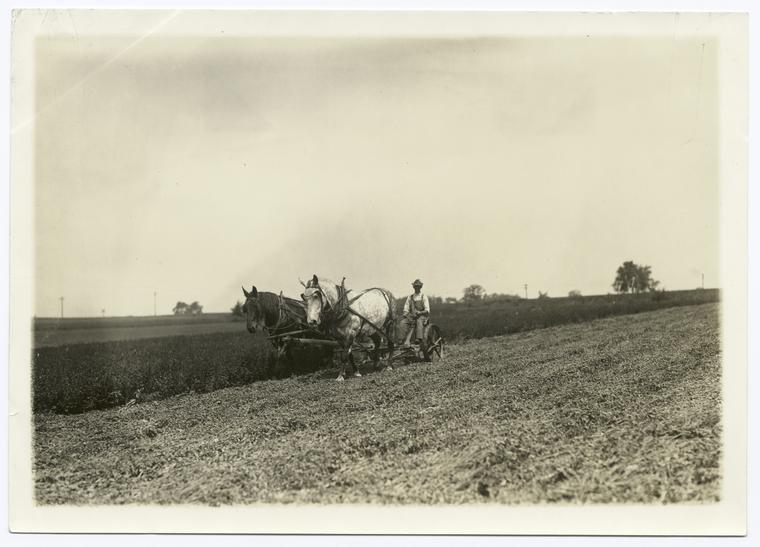
Man on Horse Drawn Tractor, Before

Man on Horse Drawn Tractor, After
For this image, I first cropped the area out of the picture that wasn't that important to my overall goal of highlighting the farmer and the horses. I then used the auto color, contrast, tone features before using the burn tool to darken some of the background features of the farm, such as the house. I also fixed some discoloration in the field by using the patch tool. To achieve the vignette effect, I used the Camera Raw Filter and played with the vignette size and color before settling on this combination. I also resized the image to a smaller size, just for effect, by using the Resize tool in Photoshop.
A Different Kind of Matted Image
For this portion of the assignment, I went back to my hometown for a different engraving. Renovo was established as a site in which trains could "renew" their engines and fuel while traveling from Philadelphia to Erie, due to its central Pennsylvania location. A town built up around the railroad, as many young men were employed in the repair shops. Renovo was also promoted as a relaxing tourist attraction, away from the hustle and bustle of the city.
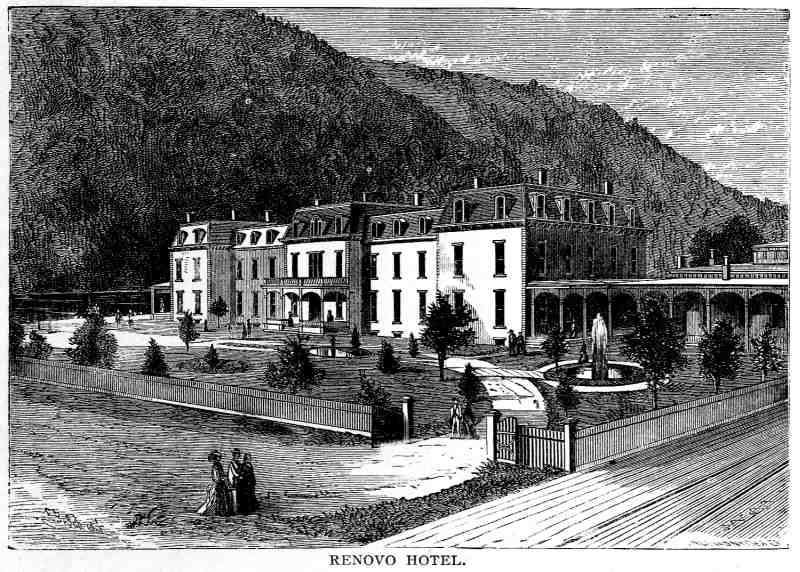
Renovo Hotel, Before

Renovo Hotel, After
In order to make the matting for this image, I first cropped out the area outside of the image that I didn't want to keep. I also used the dodge tool to lighten some of the mountain shadows. I used the crop tool to enlarge the canvas of the image, then placed a large rectangle shape over the image, and then added a new layer. I chose a deep purple color and applied the "Oil Paint" filter in order to achieve a textured appearance. I also wanted to add a drop shadow to the matting, so I went to the layer options and set the stroke to 3 and place it outside. When I was done, I flattened the layers and saved it. I thought about coloring the engraving, but I think I like the white. I could have probably toned the white down a bit, but I think this works.